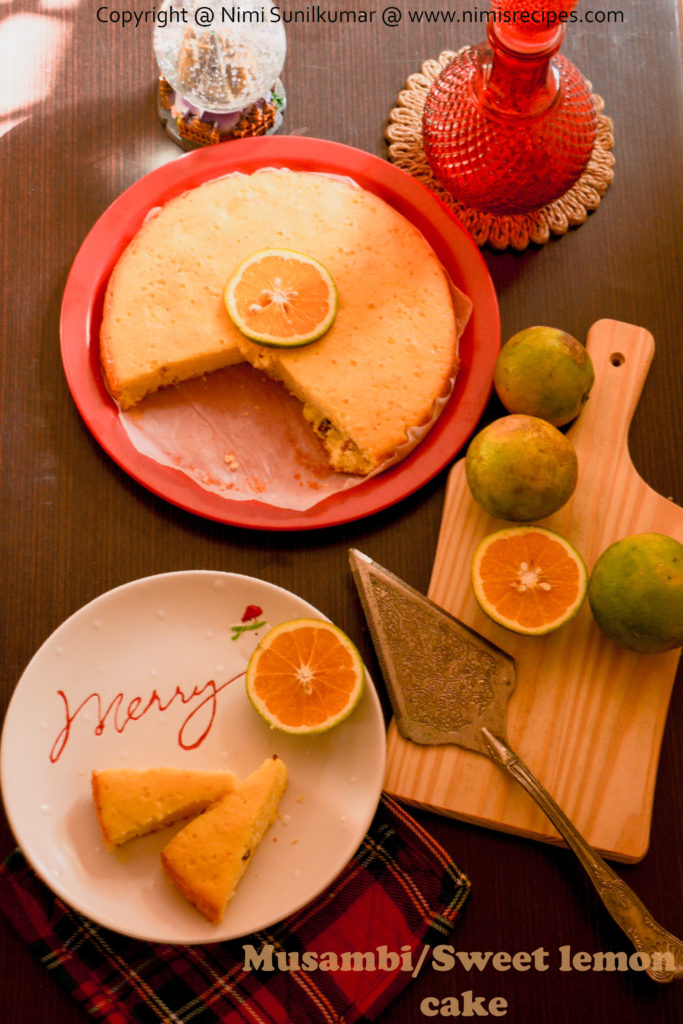
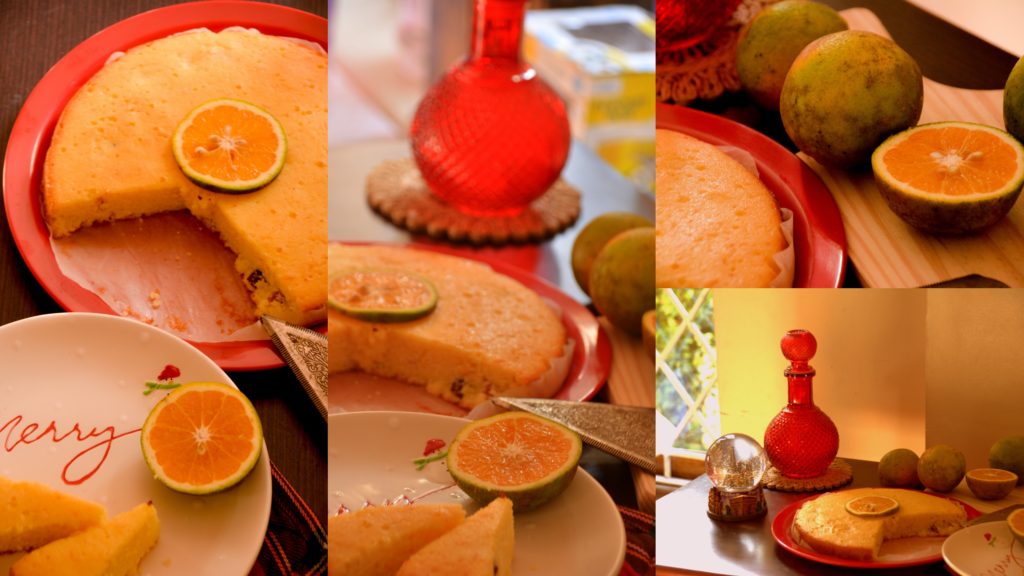
Sweet lemon cake in festive spirits!!
When festivities are up the magic that unleashes is unique in every way. It feels like it’s been almost a decade since I last posted.The number of posts in the drafts section has piled up as always …the Christmas break is winding up in a few days time. This break I had come down to my parents home due to a family issue…hoping to have things sorted out soon. When I was packing up from Munnar I was in high hopes to finish reading up the books that have been on my shelves. I always get hooked up on one matter or other and then there’s no time to read…
By the end of October, I had the chance to represent my books at the Frankfurt world book fair for the third time at the Gourmet Gallery. The opportunity to present a live show kitchen on “Food from Kerala” was, in fact, the most awesome experience.It was in every way the proudest moment to have been able to showcase the regional diversity of Indian cuisine which was highly appreciated and welcomed.I truly had butterflies in my stomach before going on the podium …the similar kind of cramp that gets me before I start my show. Well, little did I know that there were more of things to happen. The worst part was when I popped in all the chopped pineapple into my shiny little red mini pressure cooker and explaining out to the viewers.I tried to turn on the induction …..and it wasn’t working.Well, there were a few lovely ladies who were there to help me and they jumped in to help me out with the knobs but unfortunately, my elegant induction based pressure cooker would just not work on the induction top I had at the show kitchen.I ended up cooking them up in a normal pot.50 minS was the time allotted for my show.I am happy that even though there were a few mishaps I could convey the message to the viewers. Heres a glimpse of the event below…
The most memorable and the greatest privilege was to have an invite to visit the “Le cordon bleu “culinary institute in Paris in October. Le cordon bleu is a world renowned network of educational institutions dedicated to providing the highest level of culinary and hospitality instructions through world-class programmes.Founded in Paris in 1895, it is considered today as the largest network of culinary schools in the world.
After all the stories now let’s move on to the recipe to pep up this festive spirit. Musambi or sweet lemon was pretty in season and I wanted to use them up for a recipe. That’s when I thought of using them up in making up a sweet lemon cake.


- 175 g cake flour
- 3 eggs
- 175 g sugar
- 175 g butter
- Juice of 2 sweet lemon /musambi
- Rind of 1 sweet lemon finely grated
- 1 tsp of vanilla essence
- 1 tsp of baking powder
- 1/2 tsp of salt
- 1/2 cup of almonds
- 1/2 cup of milk
- Preheat oven at 350 degrees .Sieve the flour , baking powder and salt into a bowl.In an other bowl beat butter and sugar about 2 mins and slowly beat in the eggs on by one .Once the beaten mix is pretty smooth , stir in milk , musambi rind , its juice and vanilla essence .Slowly fold in the dry ingredients with almonds into the mix. Grease and line a cake tin with butter paper and pour in the cake batter .Level the top and bake the cake for about 30 minutes or till a toothpick inserted comes out clean .

A homemaker who fell head over heels in love with food -an award-winning cookbook author, food blogger, award-winning culinary demonstrator
Koki- The Sindhi bread & my food journey !!
India being a country with remarkable diversity has always been the abode to a rich culinary heritage .As a child I always fancied our motherland not sure if it was of me being born and brought up outside India . The vacations were always days that I would wait for our trips to India . Indian cuisine in itself is so vast that you can never get tired exploring .The huge regional diversities from states , to borders to homes is just unbelievable .
With this new post I would also like to share the officially launch my you tube channel “Nimi’s Recipes “.This is an attempt to give a breath of life to some of the recipes that I have loved trying ..Hoping to have your support !!
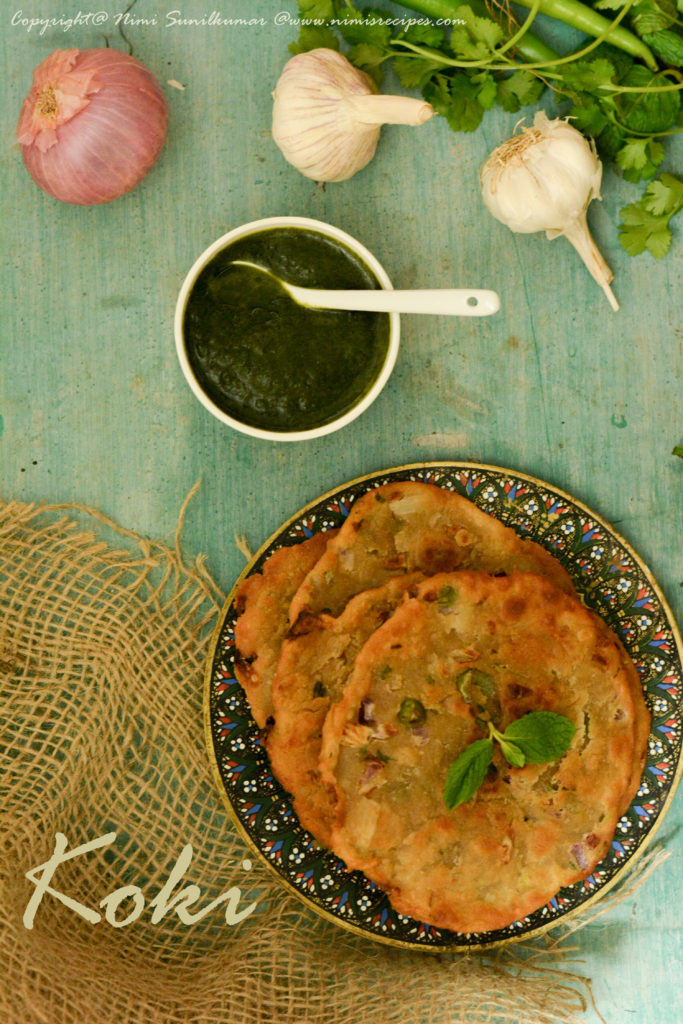
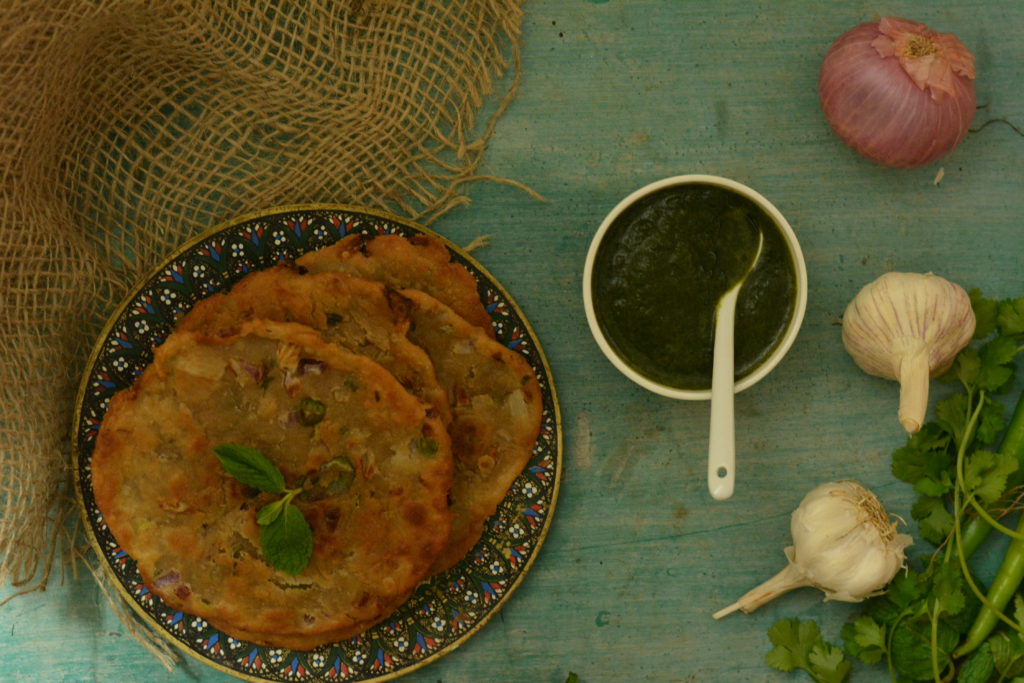
The recipe that I wanted to introduce today is a Sindhi bread -“Koki”. This Sindhi breakfast is a really good combination with green chutney .

- 4 cups whole wheat flour
- 2 large onions chopped
- 4 green chilies chopped
- 3 tbsp fresh coriander leaves finely chopped
- 2 tsps cumin seeds
- 2 tsps pomegranate seeds
- Salt to taste
- Oil for shallow frying
- In a bowl mix all ingredients except for oil and add water to knead it into a firm dough .Cover the bwl and set aside for about 10-15 minutes .
- Divide the prepared dough into small balls and shape into thick flat patty .Place patties on a warm griddle and roast both sides on a very low heat .Roll these patties into slightly thick round discs and shallow fry in oil , turning to cook both sides.Serve the koki roti with green chutney .

A homemaker who fell head over heels in love with food -an award-winning cookbook author, food blogger, award-winning culinary demonstrator
Crispy crunchy Pakwan with Dal !
It’s strange how you meet up with new people every day in your life .There are moments when you feel that you are at the verge of existence but its inspiring how a total stranger can create a new character in your life …Its a similar kind of experience that I had travelling for the research of my new books.Its pretty much amazing to see that there are people in the villages who love what they do in their life despite facing day to day crisis.
Dal pakwan has always been one of the highlight recipes from my recipe diary .Its traditionally a very famous Sindhi breakfast .Recipes have always been a fascination and their collections a hobby .May be I might have got that from my mother .During school days I fancied clipping out all the recipes that had fancy photos.Its crazy how I used to stick them up in a diary and try to try them out on weekends.My kids are the ones who have taken up those crazes now all they would love to do on a holiday is to cook something of their own .I guess I have two budding foodies all set to conquer my kitchen …


- 1/2 cup of chana dal /chick pea lentils soaked for 30 mins
- 1/2 tsp of turmeric powder
- 1tbsp of oil
- 1/2 tsp of dry mango powder
- 3-4 green chillies chopped
- 1/2 tsp of red chilli powder
- 1/2 tsp of cumin seeds
- 1 tbsp of onion finely chopped
- 1 tsp of tamarind extract
- coriander leaves
- salt to taste
- For Pakwan
- 1 cup of All purpose flour
- 1/2 tsp of cumin seeds
- 1tsp of oil
- Salt to taste
- oil for deep frying
- Wash and pressure cook the lentils with turmeric powder, water and salt to taste for about 5-6 whistles.Once cooked slightly mash the lentils with a wooden spoon . Heat oil in a wok , fry cumin seeds and green chillies .Add in chilli powder and dry mango powder .Make sure that you stir and keep it on low flame so that you are not burning the powders. Stir in the cooked lentils and turn off the flame .Garnish with chopped onions and coriander leaves.
- For the pakwans, mix salt , flour , cumin seedsin a bowl .Pour in water slowly and knead it into a dough .You can also add a teaspoon of oil to the dough to smoothen out the dough .Let the dough sit for about 10-15 minutes.Divide the dough into balls and roll each ball into discs.Prick with a fork on the rolled out dough . Heat oil in a wok and deep fry the pakwans till they are golden and crisp.
- Serve warm with dal .

A homemaker who fell head over heels in love with food -an award-winning cookbook author, food blogger, award-winning culinary demonstrator
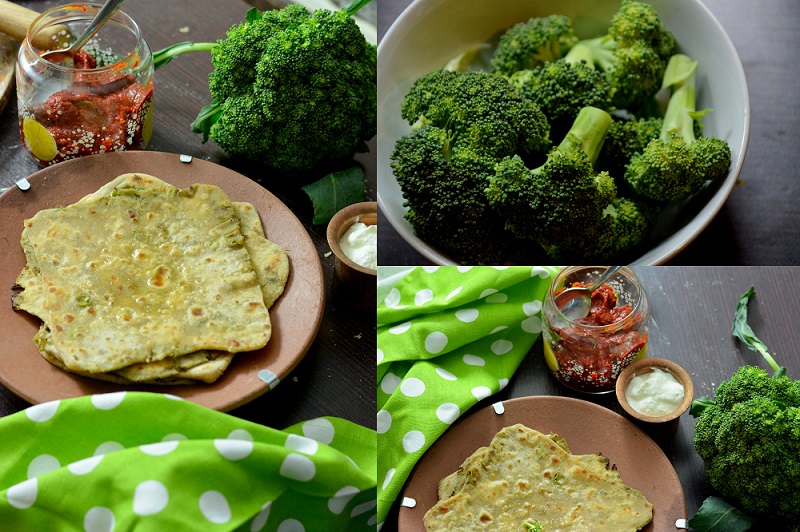
Broccoli Rotis
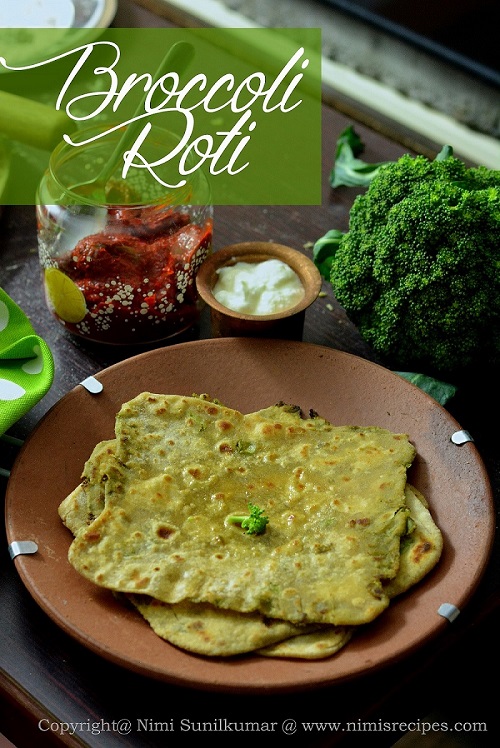
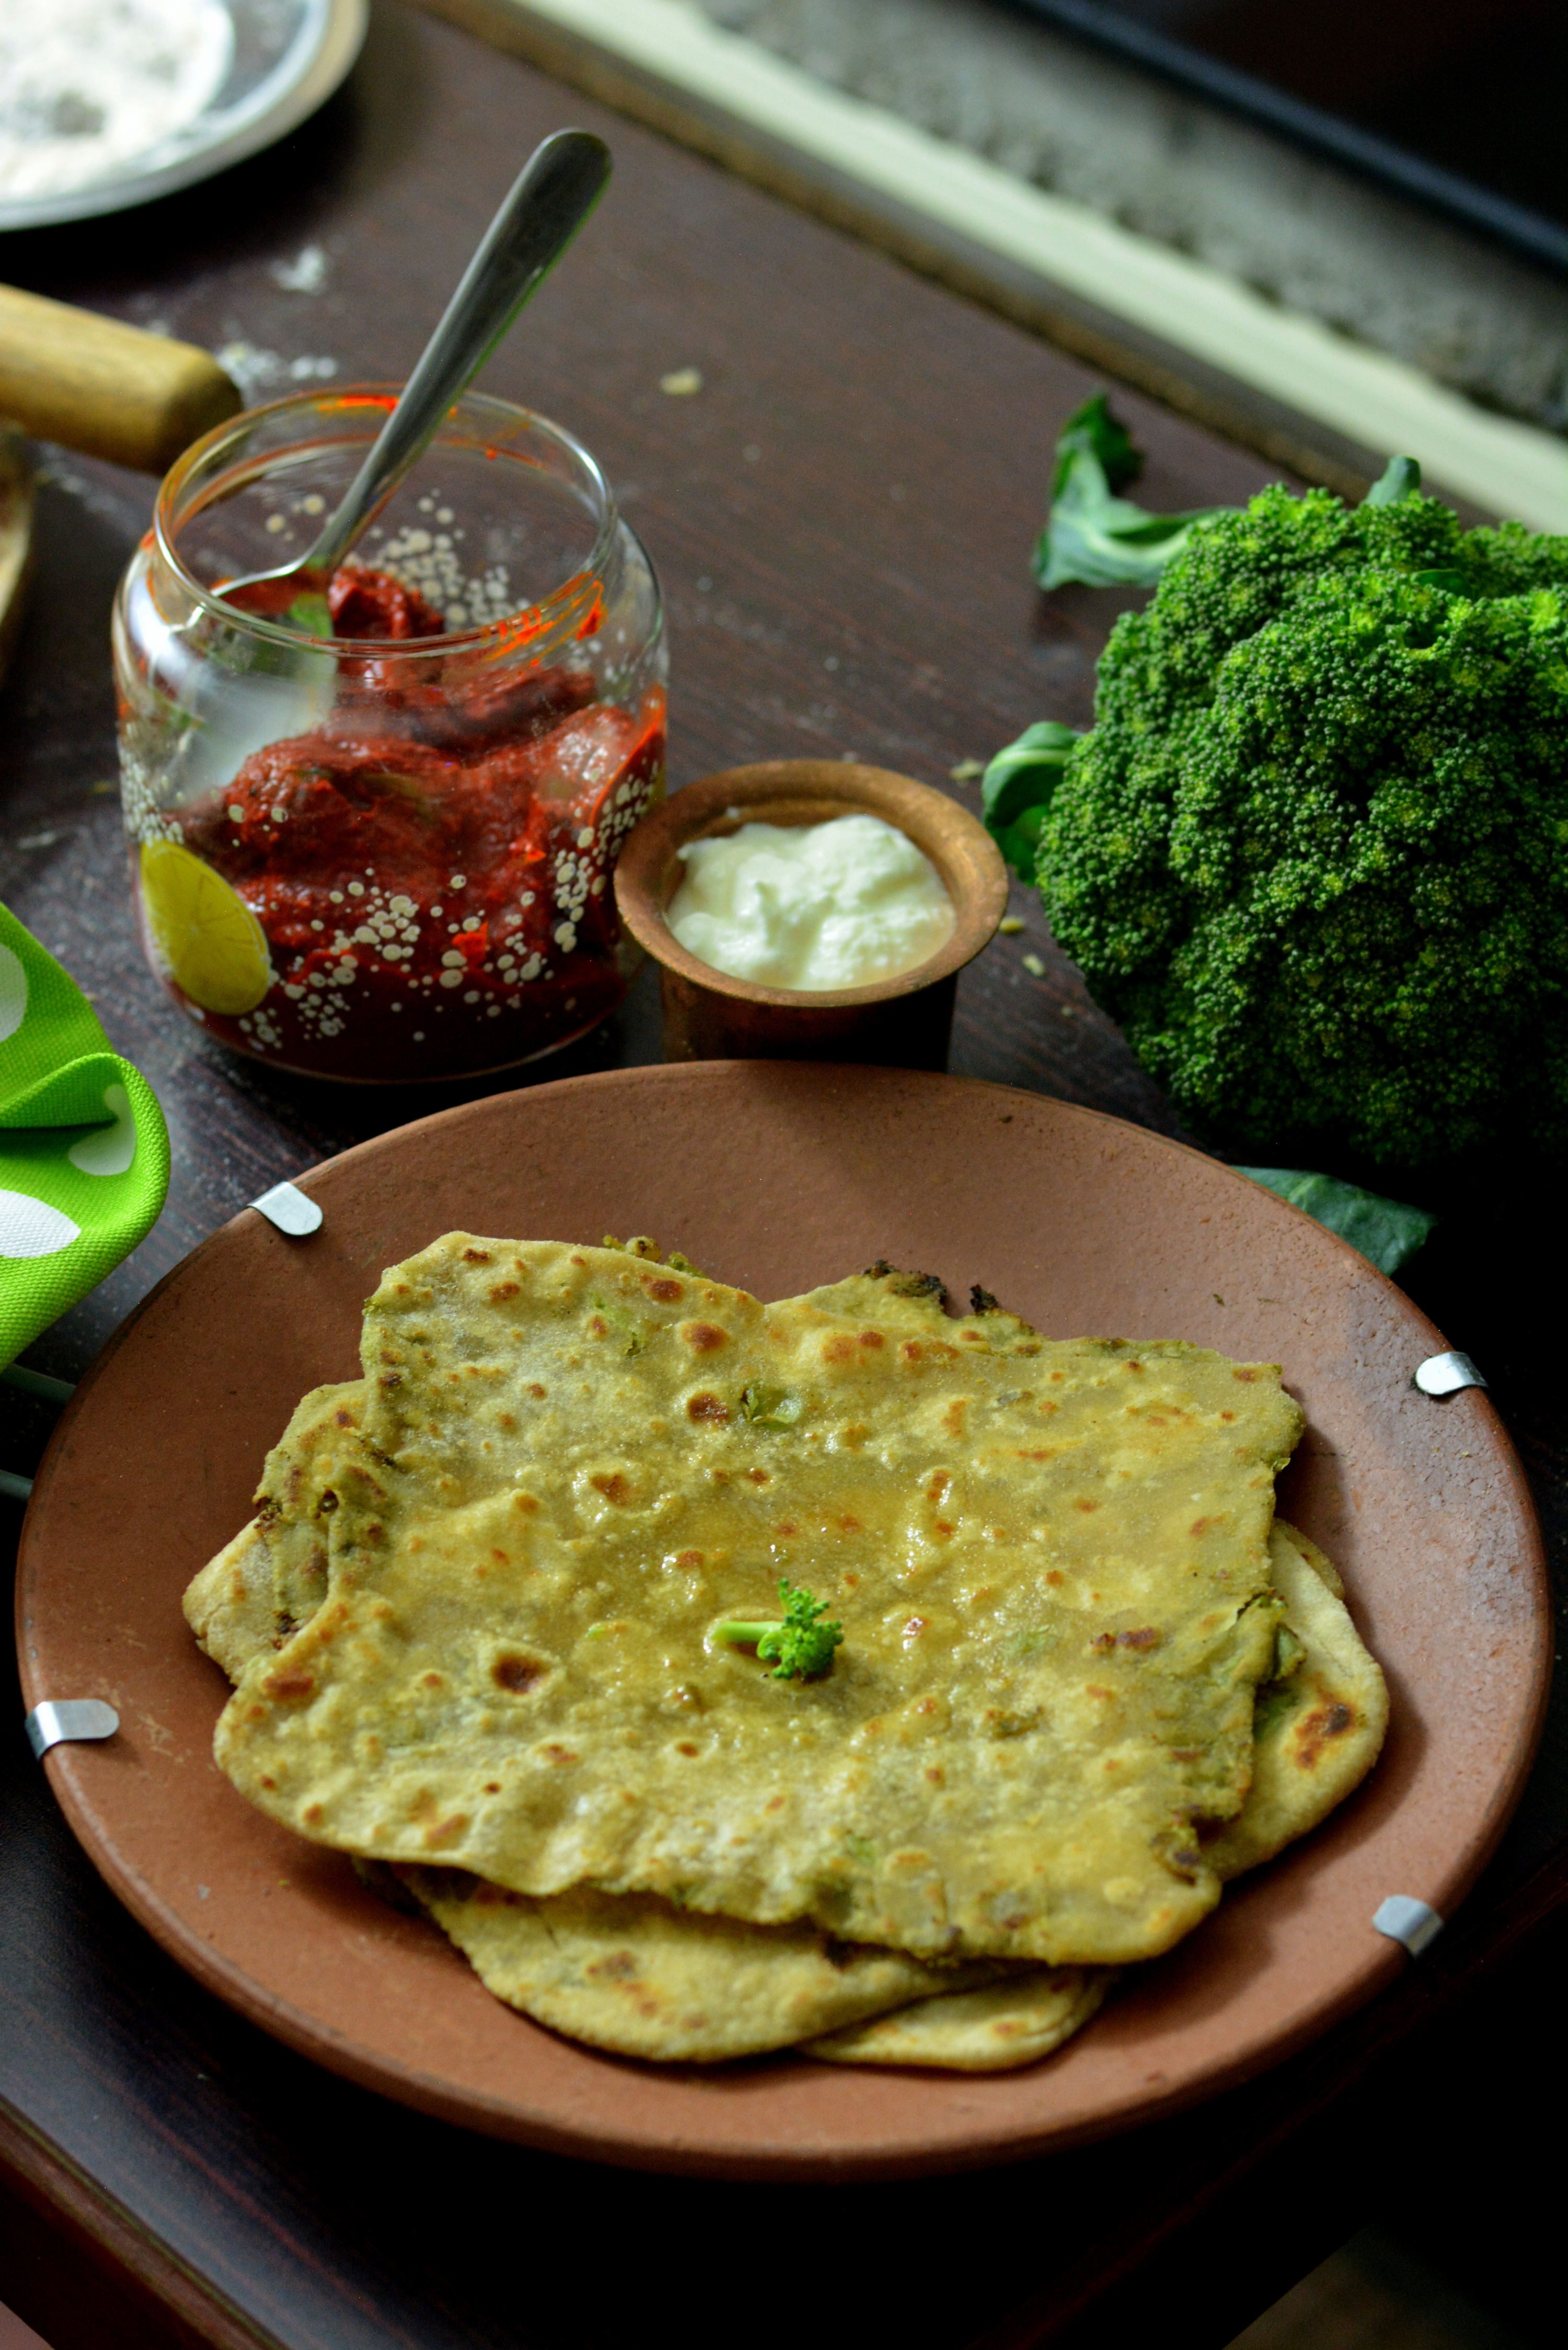
The best part of staying in Munnar is to get hold of the local fresh veggies . Broccoli is one such veggie that I love to cook with .Soups and salads were my first preferences when I started to cook with them .But it wasnt a big hit with my kids as they rarely fancied them on their plates . Being a mother my first priority has always been to find out ways to include them in the daily diet .The fun part of cooking is to keep innovating recipes .That’s one way that I came up with the Broccoli Rotis which is now a fave with my young one .”Amma , you know these green rotis are much better if you add extra ghee to them …well thats how I want them !” my younger one chuckles and adds on, “But u dont have to add more ghee to my brothers rotis….” with a naughty smile. Hmm ….that was short ignite to the reason for a new fight that started off in a matter of minutes..
I have started posting video recipes on my youtube channel..If you would like to have a look at the video tutorial .You can subscribe

- For the Filling
- 2 tbsp of oil
- 1 onion finely chopped
- 3-4 green chillies chopped
- 7-8 Broccoli florets
- Salt to taste
- 1/2 tsp of dry mango powder
- 1 tsp f garam masala
- For the dough
- 2 cups of wheat flour
- 1 tsp of ghee
- Salt to taste
- water as required to knead
- Ghee to panfry the rotis
- Mince the broccoli in a blender or food processor .
- Heat oil in a pan , saute onions and add in green chillies .
- Once the onions are translucent add the minced broccoli .Stir add water and salt .Cover & cook till the the water has totally evaporated .Keep aside .
- In a bowl mix wheat flour , salt and ghee .Pour in the required amount of water and knead the mix into a dough .Leave it to rest for about 10 minutes . Now pinch and roll balls out of the dough , flatten them , dust them with wheat flour .Dusting with flour stops it from sticking a lot to the rolling pin .
- Roll them thin .spoon some of the broccoli mix and fold from all the four sides into a square.Dust again with wheat flour and roll them out thin .
- Pan fry the rotis on both sides on a flat pan with ghee.
- Serve rotis with pickles, raita or curries.

A homemaker who fell head over heels in love with food -an award-winning cookbook author, food blogger, award-winning culinary demonstrator
Festive vibes , Buchmesse & Bread pudding !

Its been a few months of happenings all through .In October at last I happened to be at Frankfurt World bookfair representing my cookbooks at the Worlds Largest Book Fair representing India.With all the set of mishaps with last year Frankfurt fair it was quite nerve wracking till I got my visa.To be at the Frankfurt fair was a big moment and meeting up with some of the most wonderful people was even the most memmorable moment.Catching up with most of the cookbook authors after the awards in May was even more exciting .My kiddos were’nt quite happy of me travelling without them …well I truly missed them ..I just couldn’t help myself from from laughing when they used to call me up and complaint about each other ..on Skype! Gosh ! My pranksters !!!
Back from Frankfurt and it was a whirlwind of happenings .. with my fathers accident ..and a few weeks later my uncle passed away ..it was a quite a bit of shock ..my father is still in the process of recovering ..and I really hope to have him all healthy …In the midst of all this I was featured on the cover of a leading magazine in Kerala , “Karshakasree”
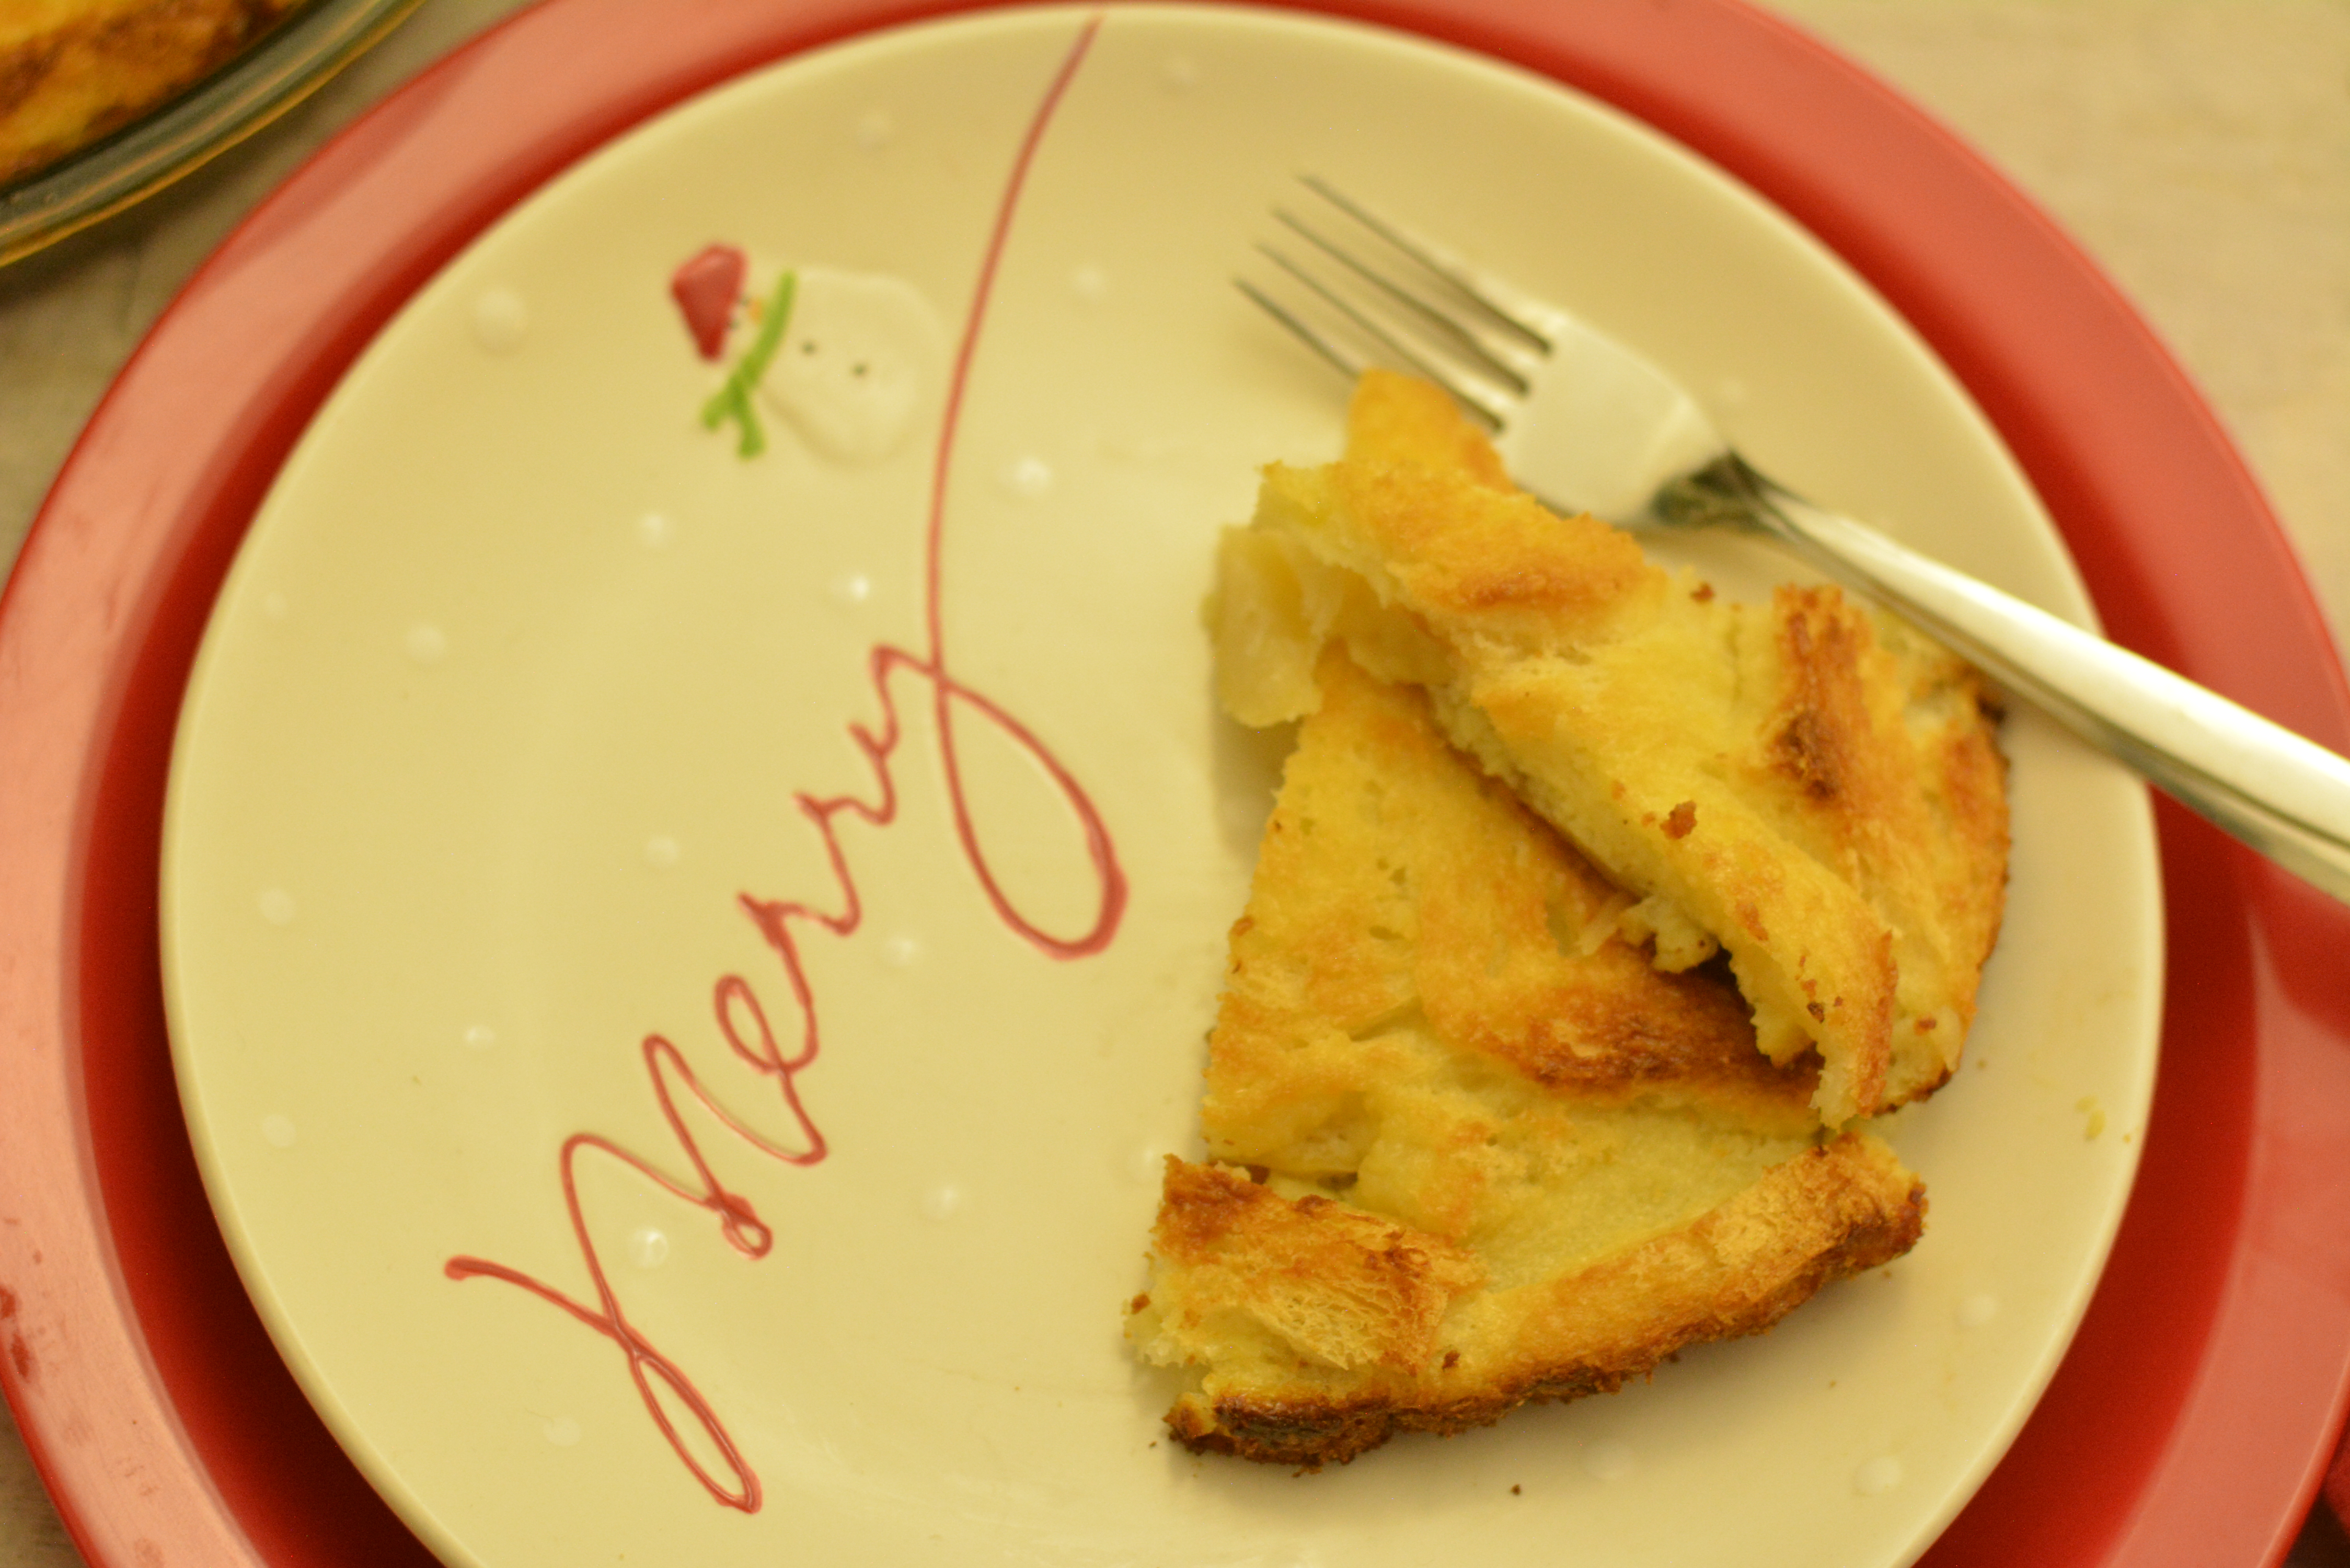
Now on to the recipe of the Italian Bread Pudding .I just love this super quick pudding …

- 1tbsp of butter
- 2 apples , peeled , cored and sliced in to rings
- 85g granulated sugar
- 2tbsp of apple juice
- 4 thick slices of bread with the crusts removed
- 300ml of fresh cream
- 2eggs beaten
- Rind of 1 orange , cut into short thin sticks
- Lightly grease a 1.2 litre deep casserole with butter .
- Arrange the apple rings in the bottom of the dish .Sprinkle half of the sugar over the apples.Pour the juice over the apples.Add the bread slices , pushing them down with your hands to flatten them slightly .
- In a bowl mix the left over sugar with the orange rind and cream .Pour the mixture over the bread .Set aside to soak for about 30minutes .Preheat oven at 180degree celsius and bake for about 25-30 minutes until golden and set .Remove from oven , set aside to cool slightly and serve warm .


A homemaker who fell head over heels in love with food -an award-winning cookbook author, food blogger, award-winning culinary demonstrator
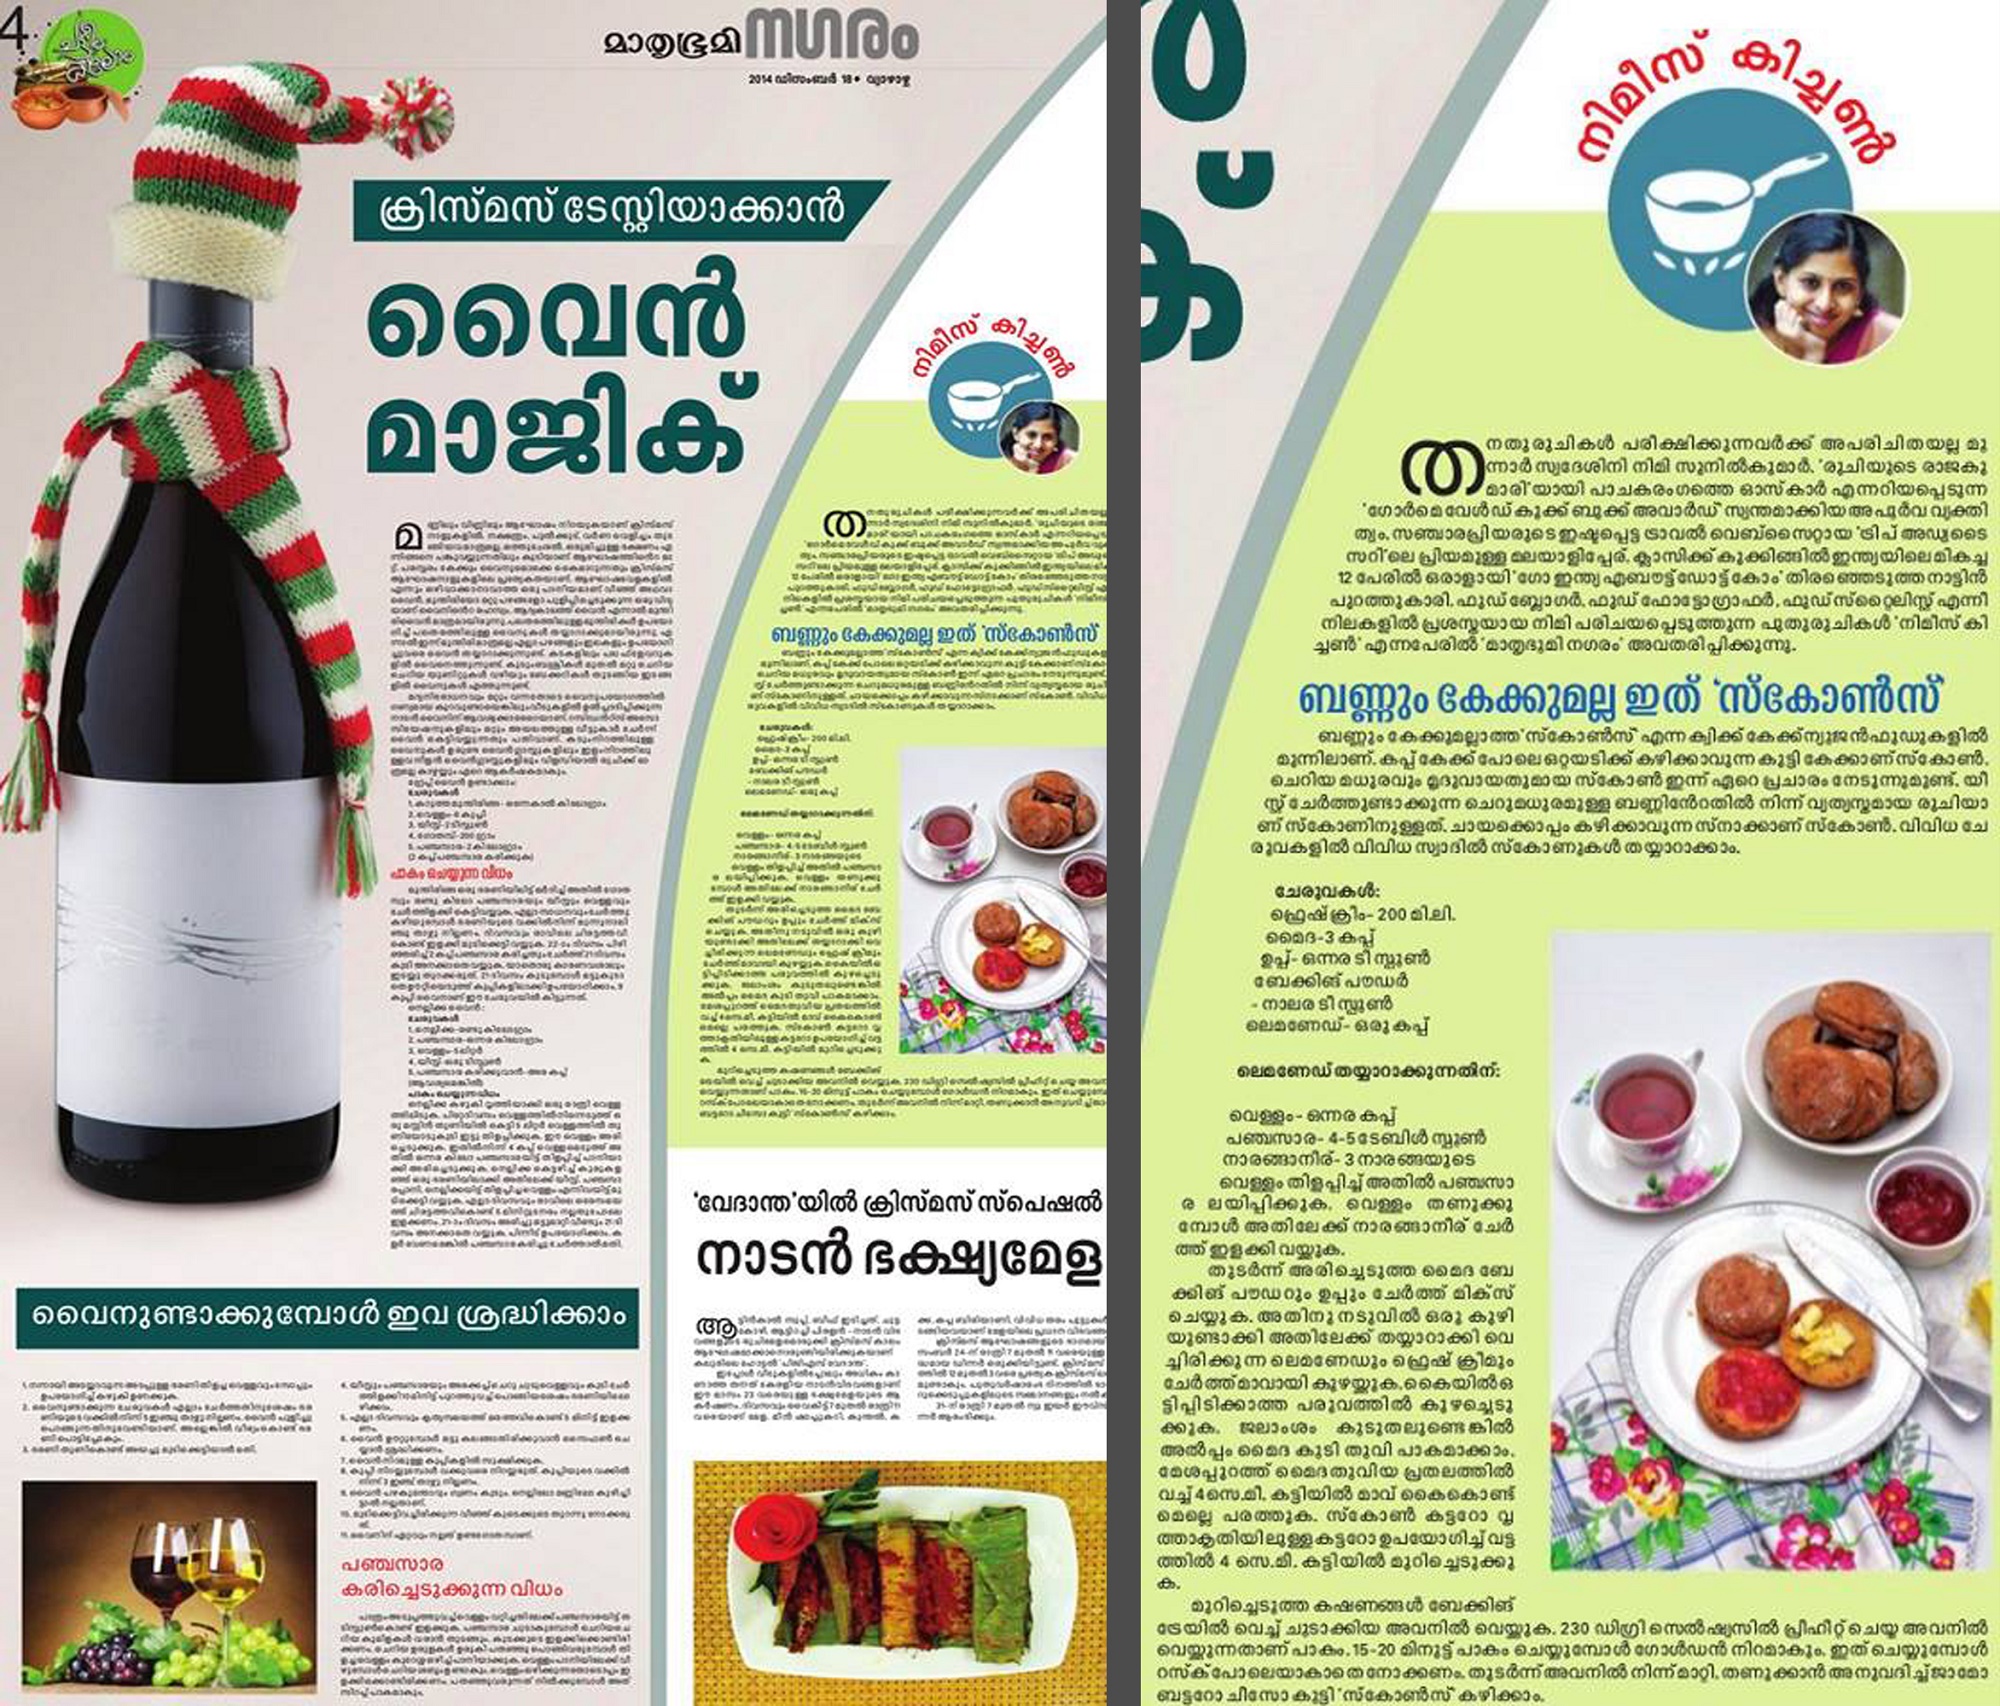
Christmas bells n Scones!!!
There’s the end of another year….. 2014 is slowly winding up..and it’s time for new resolutions !!!! .The holidays for Christmas have started ….break till the 5th of Jan 2015 when the new term is going to start off at school .My elder one Surji is off enjoying his break with his cousins at his father’s house and Siva with me my nonstop blabbering companion. It’s better to hear that my health is catching up from last week’s review at the doc..but the craziest thing is when everyone who meet up with me after a few days have been asking me , ”Oh Nimi u seem to be enjoying your break from school ..You have put on weight!!!” Ha! And the actual truth I feel quite bloated up and tired …an effect from the medications. A worried me asks my doc once in a while ..if I would become my actual self ..She smiles and says ….”all will be well once the course is completed!!”Hmm ….Hope for the best ! So before I get too lazy and sleepy in writing this post ..let me hop on to the recipe of Scones…and thank u Sylvia….here’s picking out and trying recipes from your book 😉
Scone is a single serving cake or quick bread. They are often lightly sweetened and are occasionally glazed. These are different from the normal sweet buns which are normally made from yeast. There are different types of scones and the variants differ from the places .In some countries they also have the savory scones. Scones are normally served with tea or coffee.


- 200ml fresh cream
- 3 cups of flour
- 1 ½ tsp salt
- 4 ½ tsp of baking powder
- 1 cup lemonade
- Flour for dusting
- For Lemonade
- 1 ½ cup of water
- 4-5 tbsp of sugar
- Juice of 3 lemons
- To make the lemonade first boil water, stir in sugar till it dissolves well and then
- remove from heat.
- Let the syrup cool and mix in the lemon juice and keep aside.
- Sift the flour, baking powder and salt twice into a bowl.
- Make a well in the center and pour in the lemonade and cream.
- Use wooden spoon and slightly fold in to make slightly sticky dough.
- Dust flour on your counter; roll the dough slightly mixing the dough to keep it from
- sticking.
- Pat out the dough about 4cm thick with your hands, sprinkling flour when kneaded.
- Use a scone cutter or a circle shaped cutter to cut out circles.
- Place these shapes on to a baking tray and leave them to rise for about 10 minutes.
- Preheat oven to 230 degree Celsius and bake these scones for about 15-20 minutes
- or until they are golden in colour.
- Eat them warm /cold topped with jam, butter or cheese.
So Wishing all a very Merry Christmas!!!

A homemaker who fell head over heels in love with food -an award-winning cookbook author, food blogger, award-winning culinary demonstrator
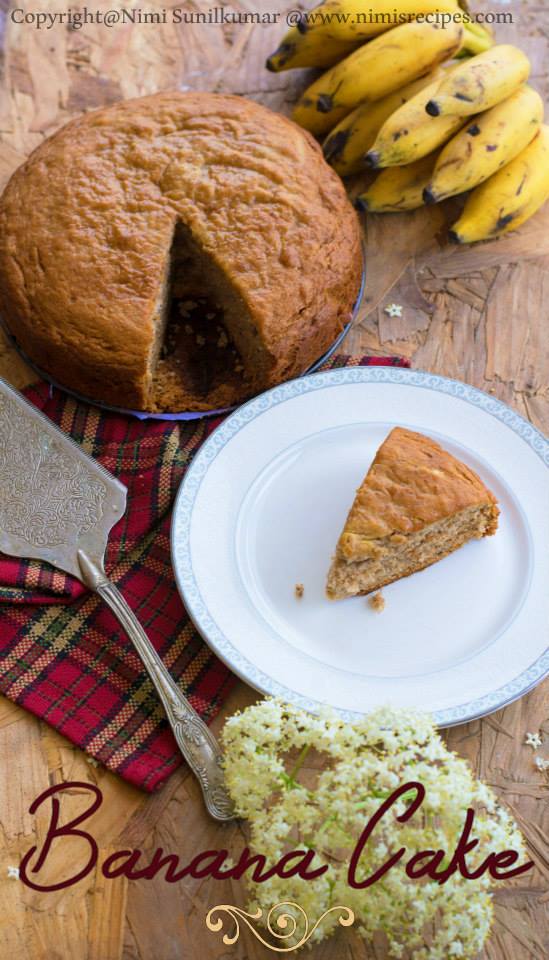
Going all bananas…..Celebrating the day!
A few weeks back all you could hear was the bloom of the Neelakurinji flower(Strobilanthes kunthiana) a shrub that is told to bloom only once in twelve years in and around Munnar. The beauty was just breathtaking when you have a whole area all blue. It was as if you were in heaven a whole new world. Although I had plans to do a post all were just flushed out with my schedules. The past weeks were pretty out of my hands with my younger one having a fractured arm and guests in and out. A bit relieved that now his arm is ok .Its been quite some time or should I say a very loooooooooooooong time since I baked cakes…it was just now that I recollected that its been an year. Today it’s a very special day…..special in many ways….so back to baking a special cake!
My dad is the best man in my life, the first love of my life, the most perfect man ever….always there to support, to relive my dreams….No matter how old I get, no matter how often I stay out with friends, no matter how far I move away with my husband, no matter how many children I have, no matter how many grandchildren I will have….daddy, I will still be your little girl! I love you more than the world will ever know!!!!
There couldn’t have been a better father than you on this earth – happy birthday to the man who taught me my worth…Happy Birthday Acha! <3 <3 <3
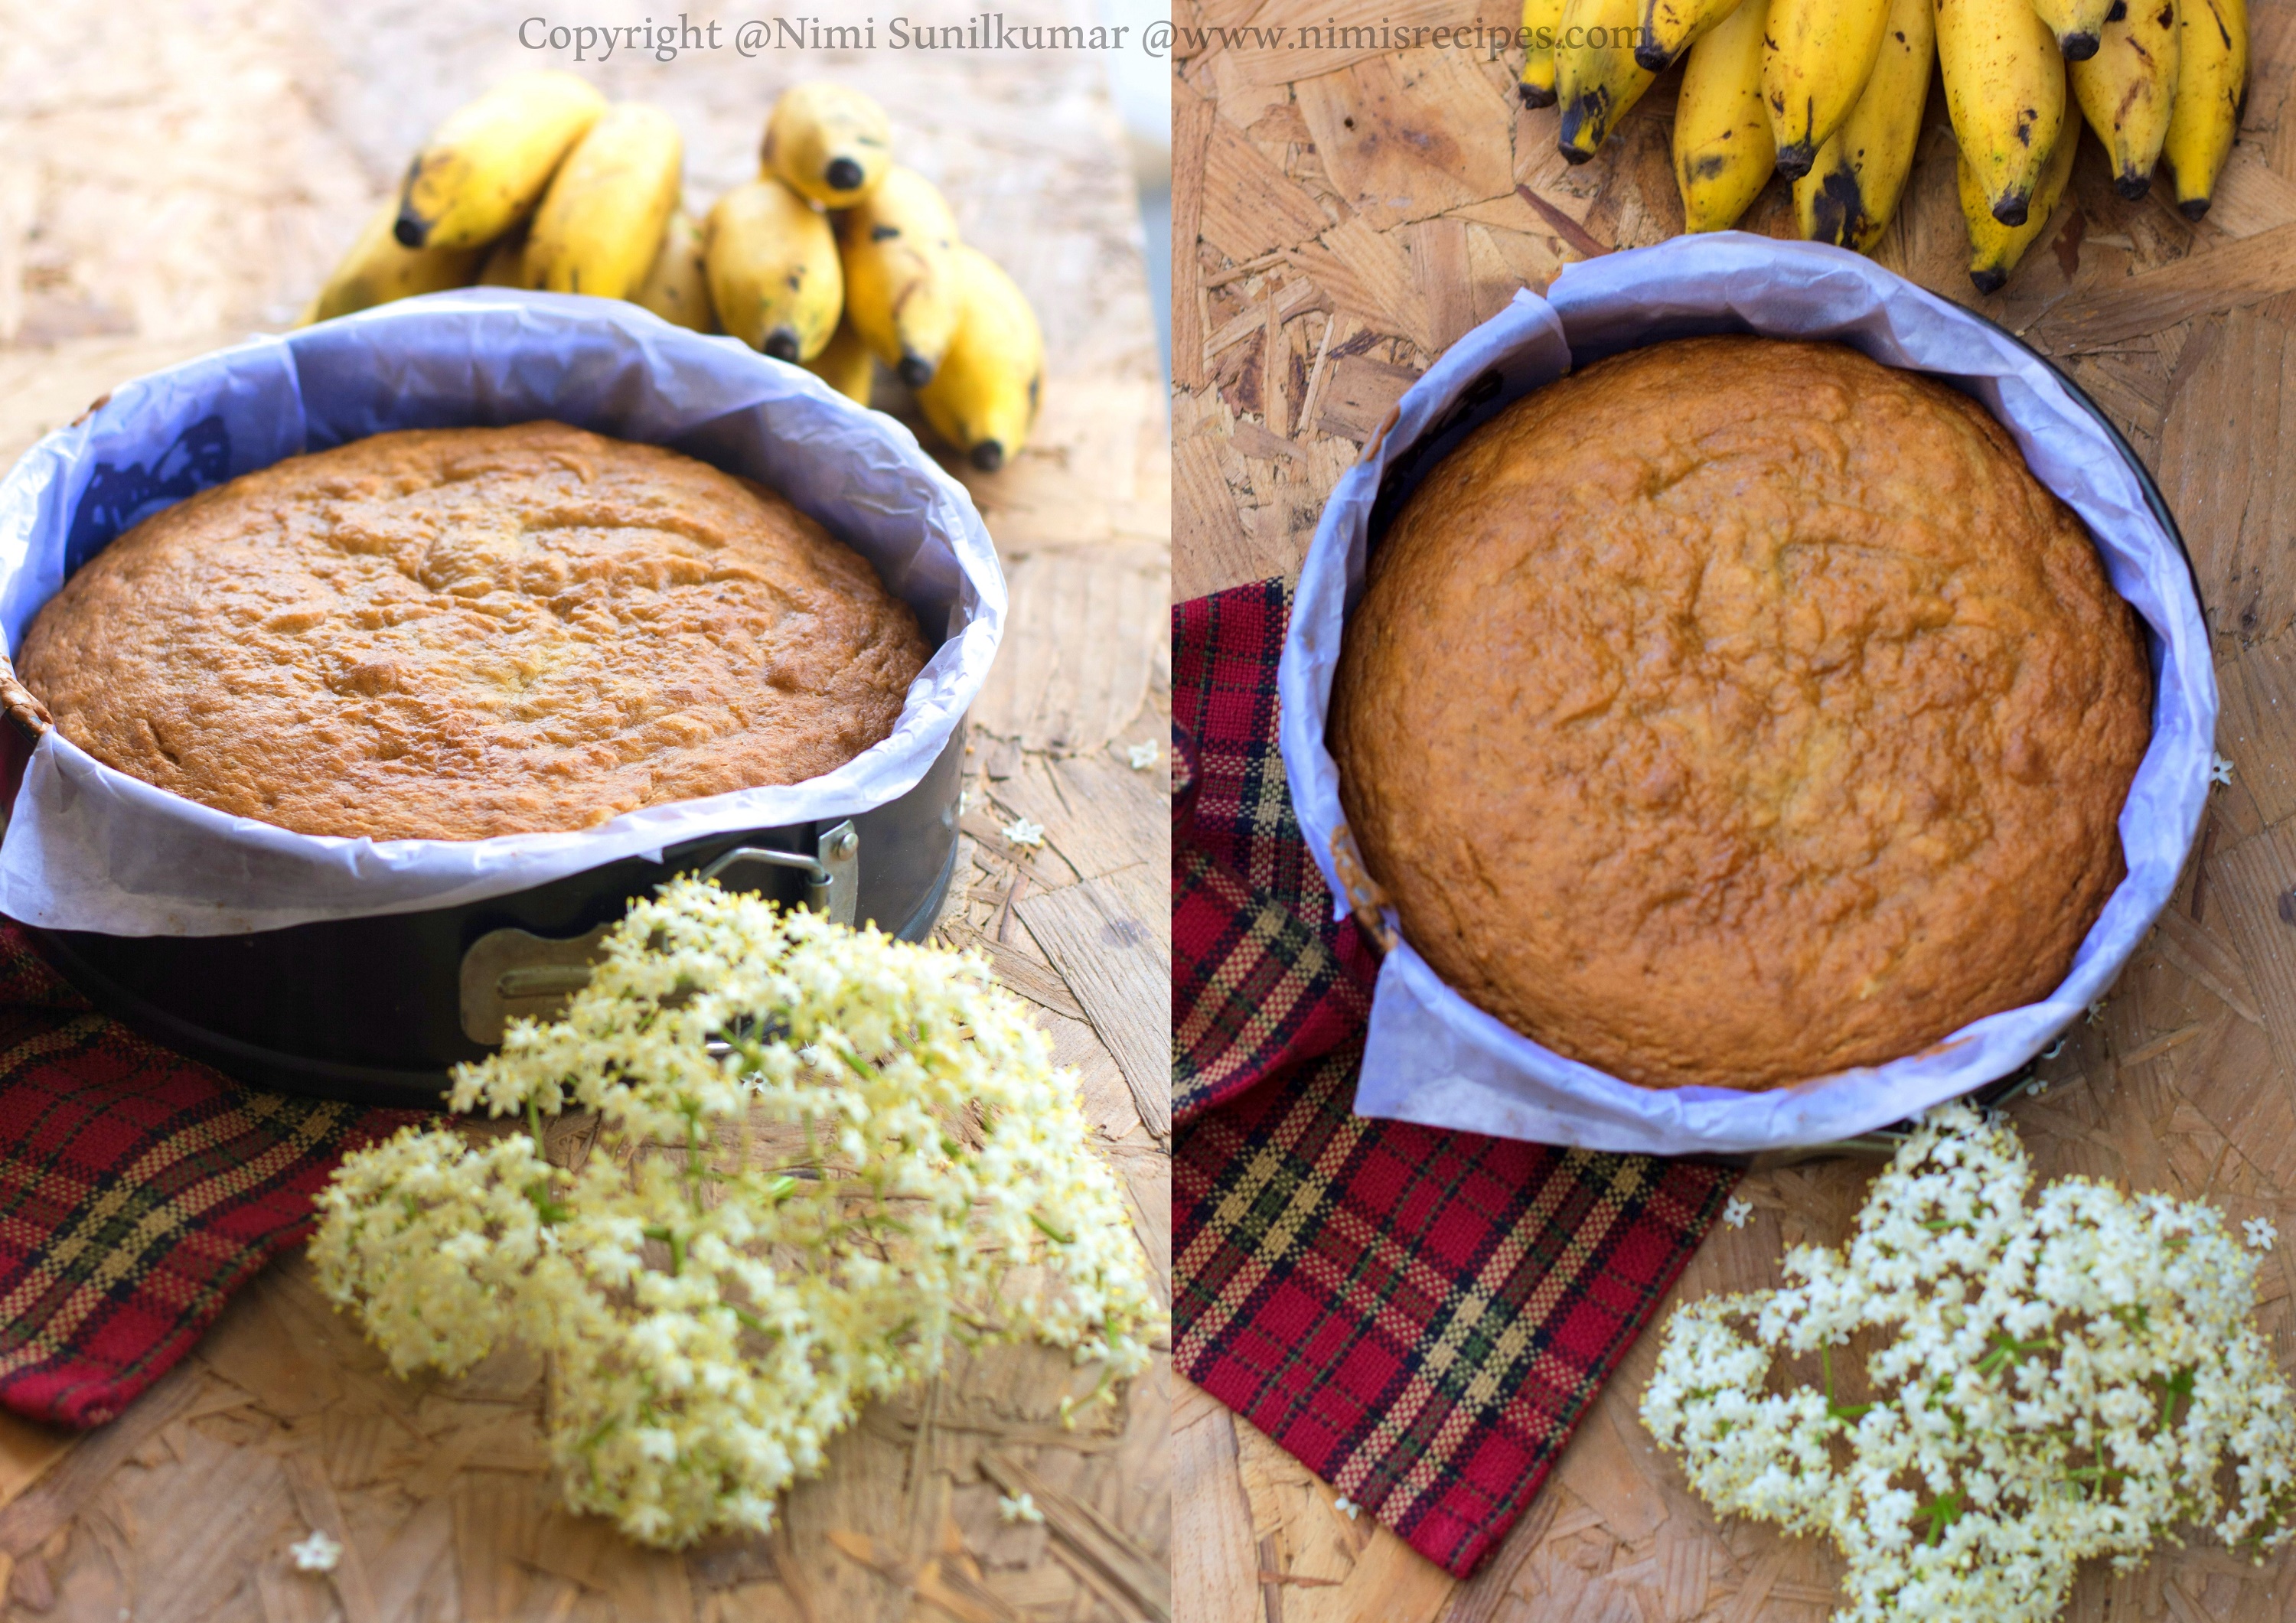
Reliving all the magic that the third of November has here’s the recipe of the Banana cake that I baked .This super moist not too sweet cake was adapted from a cookbook gifted to me by one of my cooking class students, Sylvia Lewis who herself is a very talented cook , foodie and wonderful human being .The book is a collection of tried and tested recipes from different parts of the world. The recipe for the banana cake wad supplied by Daphne Read. This cake is also good with frosting, though I haven’t frosted it.

- ½ cup of butter
- ¾ cup of sugar
- 1 ½ cup of self-rising flour
- 1 tsp of baking soda
- 2 eggs
- 5 very ripe small bananas, pureed
- 2 tbsp of fresh cream
- 1 pinch of salt
- ¼ cup of milk
- Preheat oven to 190 degree Celsius.
- Cream butter and sugar in a bowl until it turns a light colour.
- Gradually add eggs one at a time and beat. Sift flour and salt.
- Mix baking soda in a cup with the milk and cream.
- Add pureed banana into the creamed butter and sugar and mix until combined.
- Alternately add flour and milk mix until just incorporated.
- Pour mixture into a greased and lined baking pan and bake for about 45 minutes or
- until the cake springs from a touch in the middle.
- Cool cake on a wire rack.

A homemaker who fell head over heels in love with food -an award-winning cookbook author, food blogger, award-winning culinary demonstrator
Olive fever with Olive Bread!
As a child , I used to crave a lot on Meditteranian Cuisine and olives would be my best mates.I remember the transparent bags of olives that my mom used to pop out of her kitchen when shes all set to serve the salads for dinner.The small oval fruit is widely cultivated in the Meditteranian region and is prime source of olive oil.
After coming to Kerala ..it was hard to get olives….now you get almost all the imported stuff here too.The recipe that I am posting out here is one that I got hold off during my visit to Bangalore .It was featured in a magazine.The best part of the recipe was my craze to use olives after a long time 😛
Olive Bread
650g of flour
2tsp of salt
4tsp of dry yeast
300ml of water
75ml of olive oil
200 gms of black olives pitted & chopped
1 big onion chopped
1 small bunch of parsley washed and chopped
Mix flour, salt ,water and yeast to make a soft dough.Mix together olive oil, onion, olives and parsley in a bowl.Knead this into the soft dough and keep it for fermentation for about 15 minutes.After 15 minutes tear the dough 4 portions.Shape into ovals and slash the top of each on a greased tray , cover with a wet muslin cloth and leave it for proving for about 1 1/2 hour. Preheat oven at 220 degree Celsius.Once fermented , line the dough on a greased baking tray and bake for about 20 minutes or till the crust becomes golden brown.

A homemaker who fell head over heels in love with food -an award-winning cookbook author, food blogger, award-winning culinary demonstrator
A .com munching on Empanadas ;)!
I have been working on posting on my .com for the past days.This post for basically to be put up on my blog but it lagged from all the way from September to November.As its said that ‘better late than never’..heres my post on Emapanada Gallegas.
Empanada is a basically stuffed bread that’ s been baked or fried out .The roots of Empanadas lie in Spain & Portugal…though there are many variations in many countries.This post is dedicated to the DB challenge for September.Thanks to Patri for the awesome recipe.:)
Empanada Gallega
For the crust:
Ingredients
5-1/3 cups bread flour
2 cups of lukewarm water (about 85°F/30ºC), approximately
1 tablespoon fresh yeast
2 teaspoons salt
4 tablespoons oil
1 large egg, for egg wash
Sift the flour into a big bowl and make a well in the middle. Rub the yeast in with your fingers.In a small bowl, mix the water and the salt.Now, using your fingers or a wooden spoon, start adding the water and mixing it with the flour-yeast mixture. Keep on working with your fingers or spoon until you have added enough water and all the flour has been incorporated and you have a messy ball of dough.On a clean counter top, knead the dough for approximately 10 minutes.Clean and oil the big bowl you used for mixing and place the kneaded dough in it. Cover it with a napkin or piece of linen and keep it in a warm, drought-free place for approximately 40 to 50 minutes.Once risen, turn the dough back into a floured counter and cut it in half. Cover one half with the napkin to prevent drying.Spread the other half of the dough using a rolling pin. You can use a piece of wax paper over the counter, it will make it easier to move the dough around. Depending on the shape of your oven pan or cookie sheet, you will make a rectangle or a round.Now, the thinness of the dough will depend on your choice of filling and how much bread you like in every bite. For your first time, make it about 3mm thin (about 1/10th of an inch) and then adjust from that in the next ones you make.
For the filling:
3 medium sized Onions chopped
1 tbsp of ginger & Garlic chopped
5 green chillies finely chopped
2 cup of cooked shredded chicken
1/2 tsp turmeric powder
2 tsps of black pepper powder
1 tsp garam masala powder
curry leaves chopped
coriander leaves chopped
In a pan pour about 2 tbsps of oil,saute the ginger & garlic with the chopped onions till translucent.Add in the green chillies,and stir for a few minutes.Now add in the powders& chicken .drizzle oil on the sides of the pan stir fry the chicken mix with salt.Add 1/2 tsp of garam masala, coriander & curry leaves before turning of the flame.
Assembling
If you haven’t used wax paper, either lightly flour or line with wax paper your pan or tray.Cover the base and sides with the dough. Using the rolling pin or a knife, cut the extra dough.Place the filling, making sure it is cold and that all the base is covered. Using a hot filling will make the bottom layer of the empanada become soggy. Be careful to avoid adding too much oil from the filling, try to make it as “dry” as possible.Start preheating your oven to moderate 350°F/180ºC/gas mark 4.Take the other half of the dough and spread it out to the same or less thinness of the base. You can use a piece of wax paper for this too. Take into account that this “top” dough needs to be smaller around than the bottom, as it only needs to cover the filling.If not using wax paper, move carefully the top to cover the filling. If using wax paper, transfer the dough, turn upside down, cover the filling and gently peel off the wax paper.Using your fingers, join bottom and top dough, when you have gone all the way around, start pinching top and bottom together with your thumb and index finger and turning them half way in, that way you end up with a rope-like border.When you are finished, make a 1 inch hole in the middle of the top layer. This will help hot air exit the empanada while it’s baking without breaking the cover.Using a fork, prick the top layer or, using scissors, make snips that go all the way through the top layer.In a small bowl, beat an egg and add a tbsp of cold water. With the pastry brush, paint the top of the empanada with the egg wash. Place the empanada in the oven and bake for about 45 minutes. Check that the bottom part is done.
I made different shapes of empanadas..and loved simply baking them..Hope u too enjoy this Empanada Ride!

A homemaker who fell head over heels in love with food -an award-winning cookbook author, food blogger, award-winning culinary demonstrator
