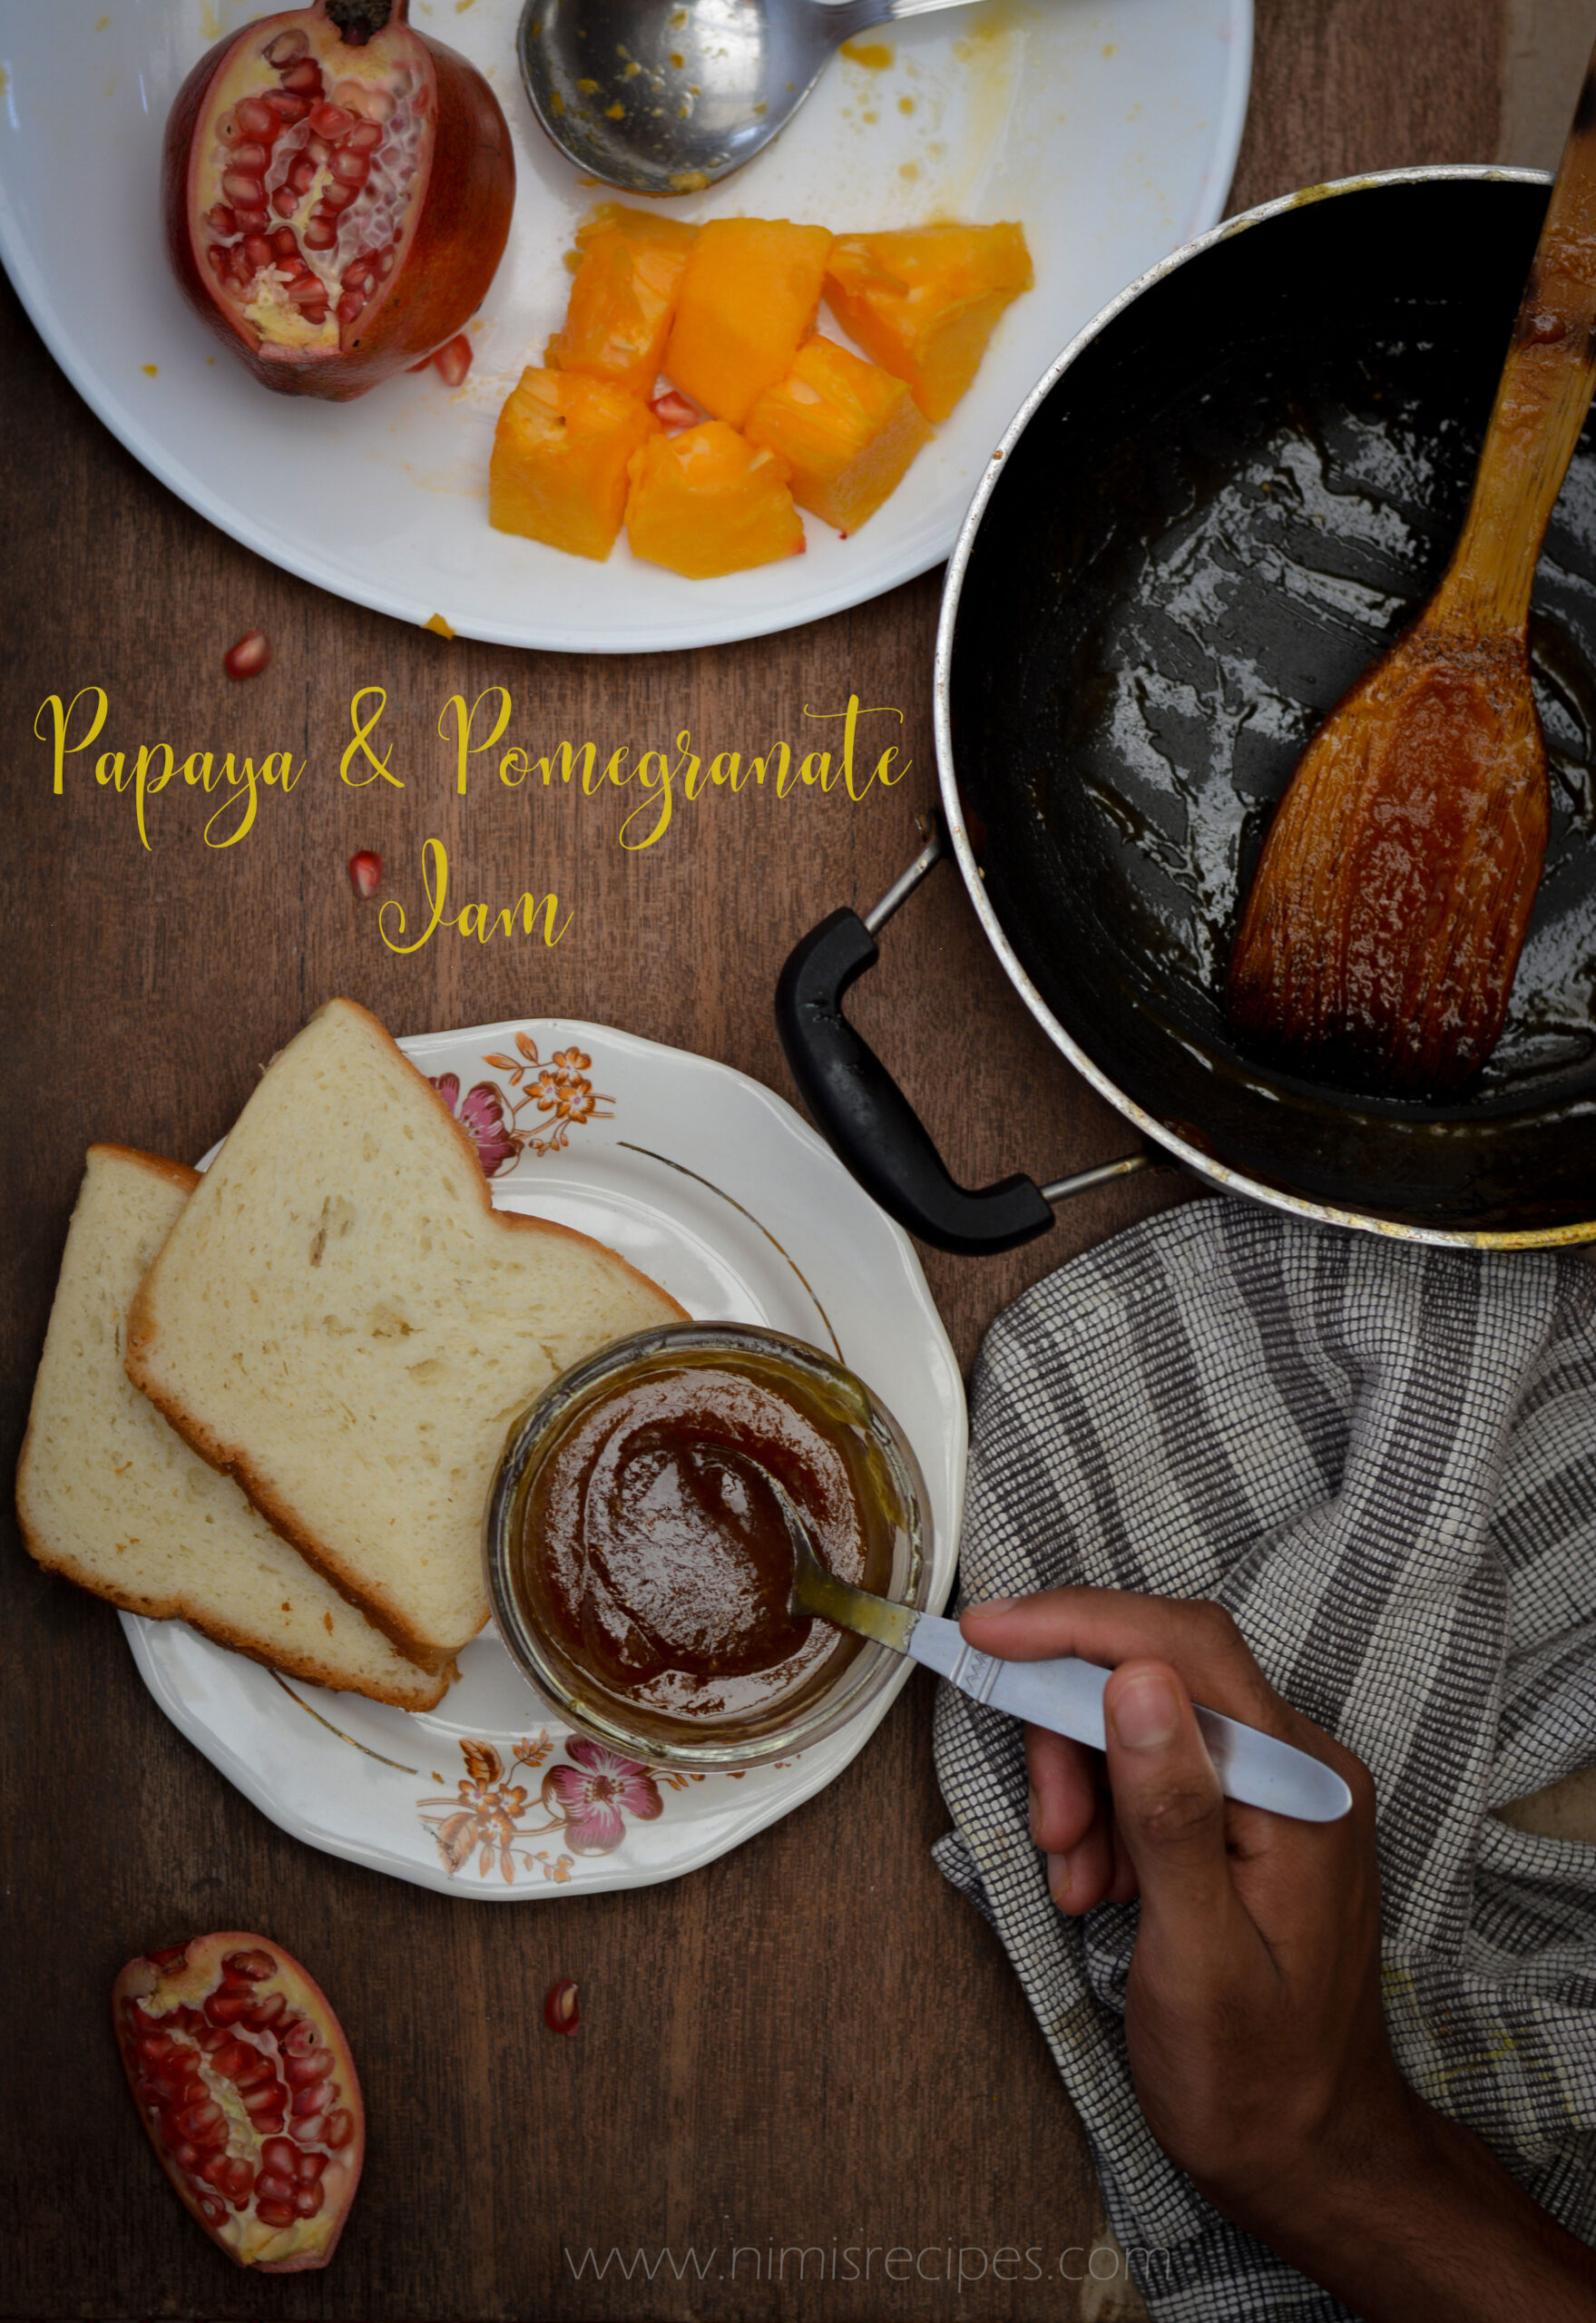
Jamming up Papaya and Pomegranate !
Making jams at home is such a satisfying feeling and I get to use the ripe leftover fruit in the fridge. A few weeks back, my mother-in-law had sent over huge papaya from our farm. I used it along with some pomegranates to make this papaya and pomegranate jam. My younger one is quite inclined on to mango jams that I make when fruits are in season. Jams are fairly easy to make at home and the best part is that they are preservative-free.
I recently made papaya and pomegranate jam and wanted to share details about my process for all of you who want to try making any kind of delicious fruit jam at home. Here in the recipe, I haven’t strained of the pomegranate seed bits as I wanted to have a bite in the jam that I was making.
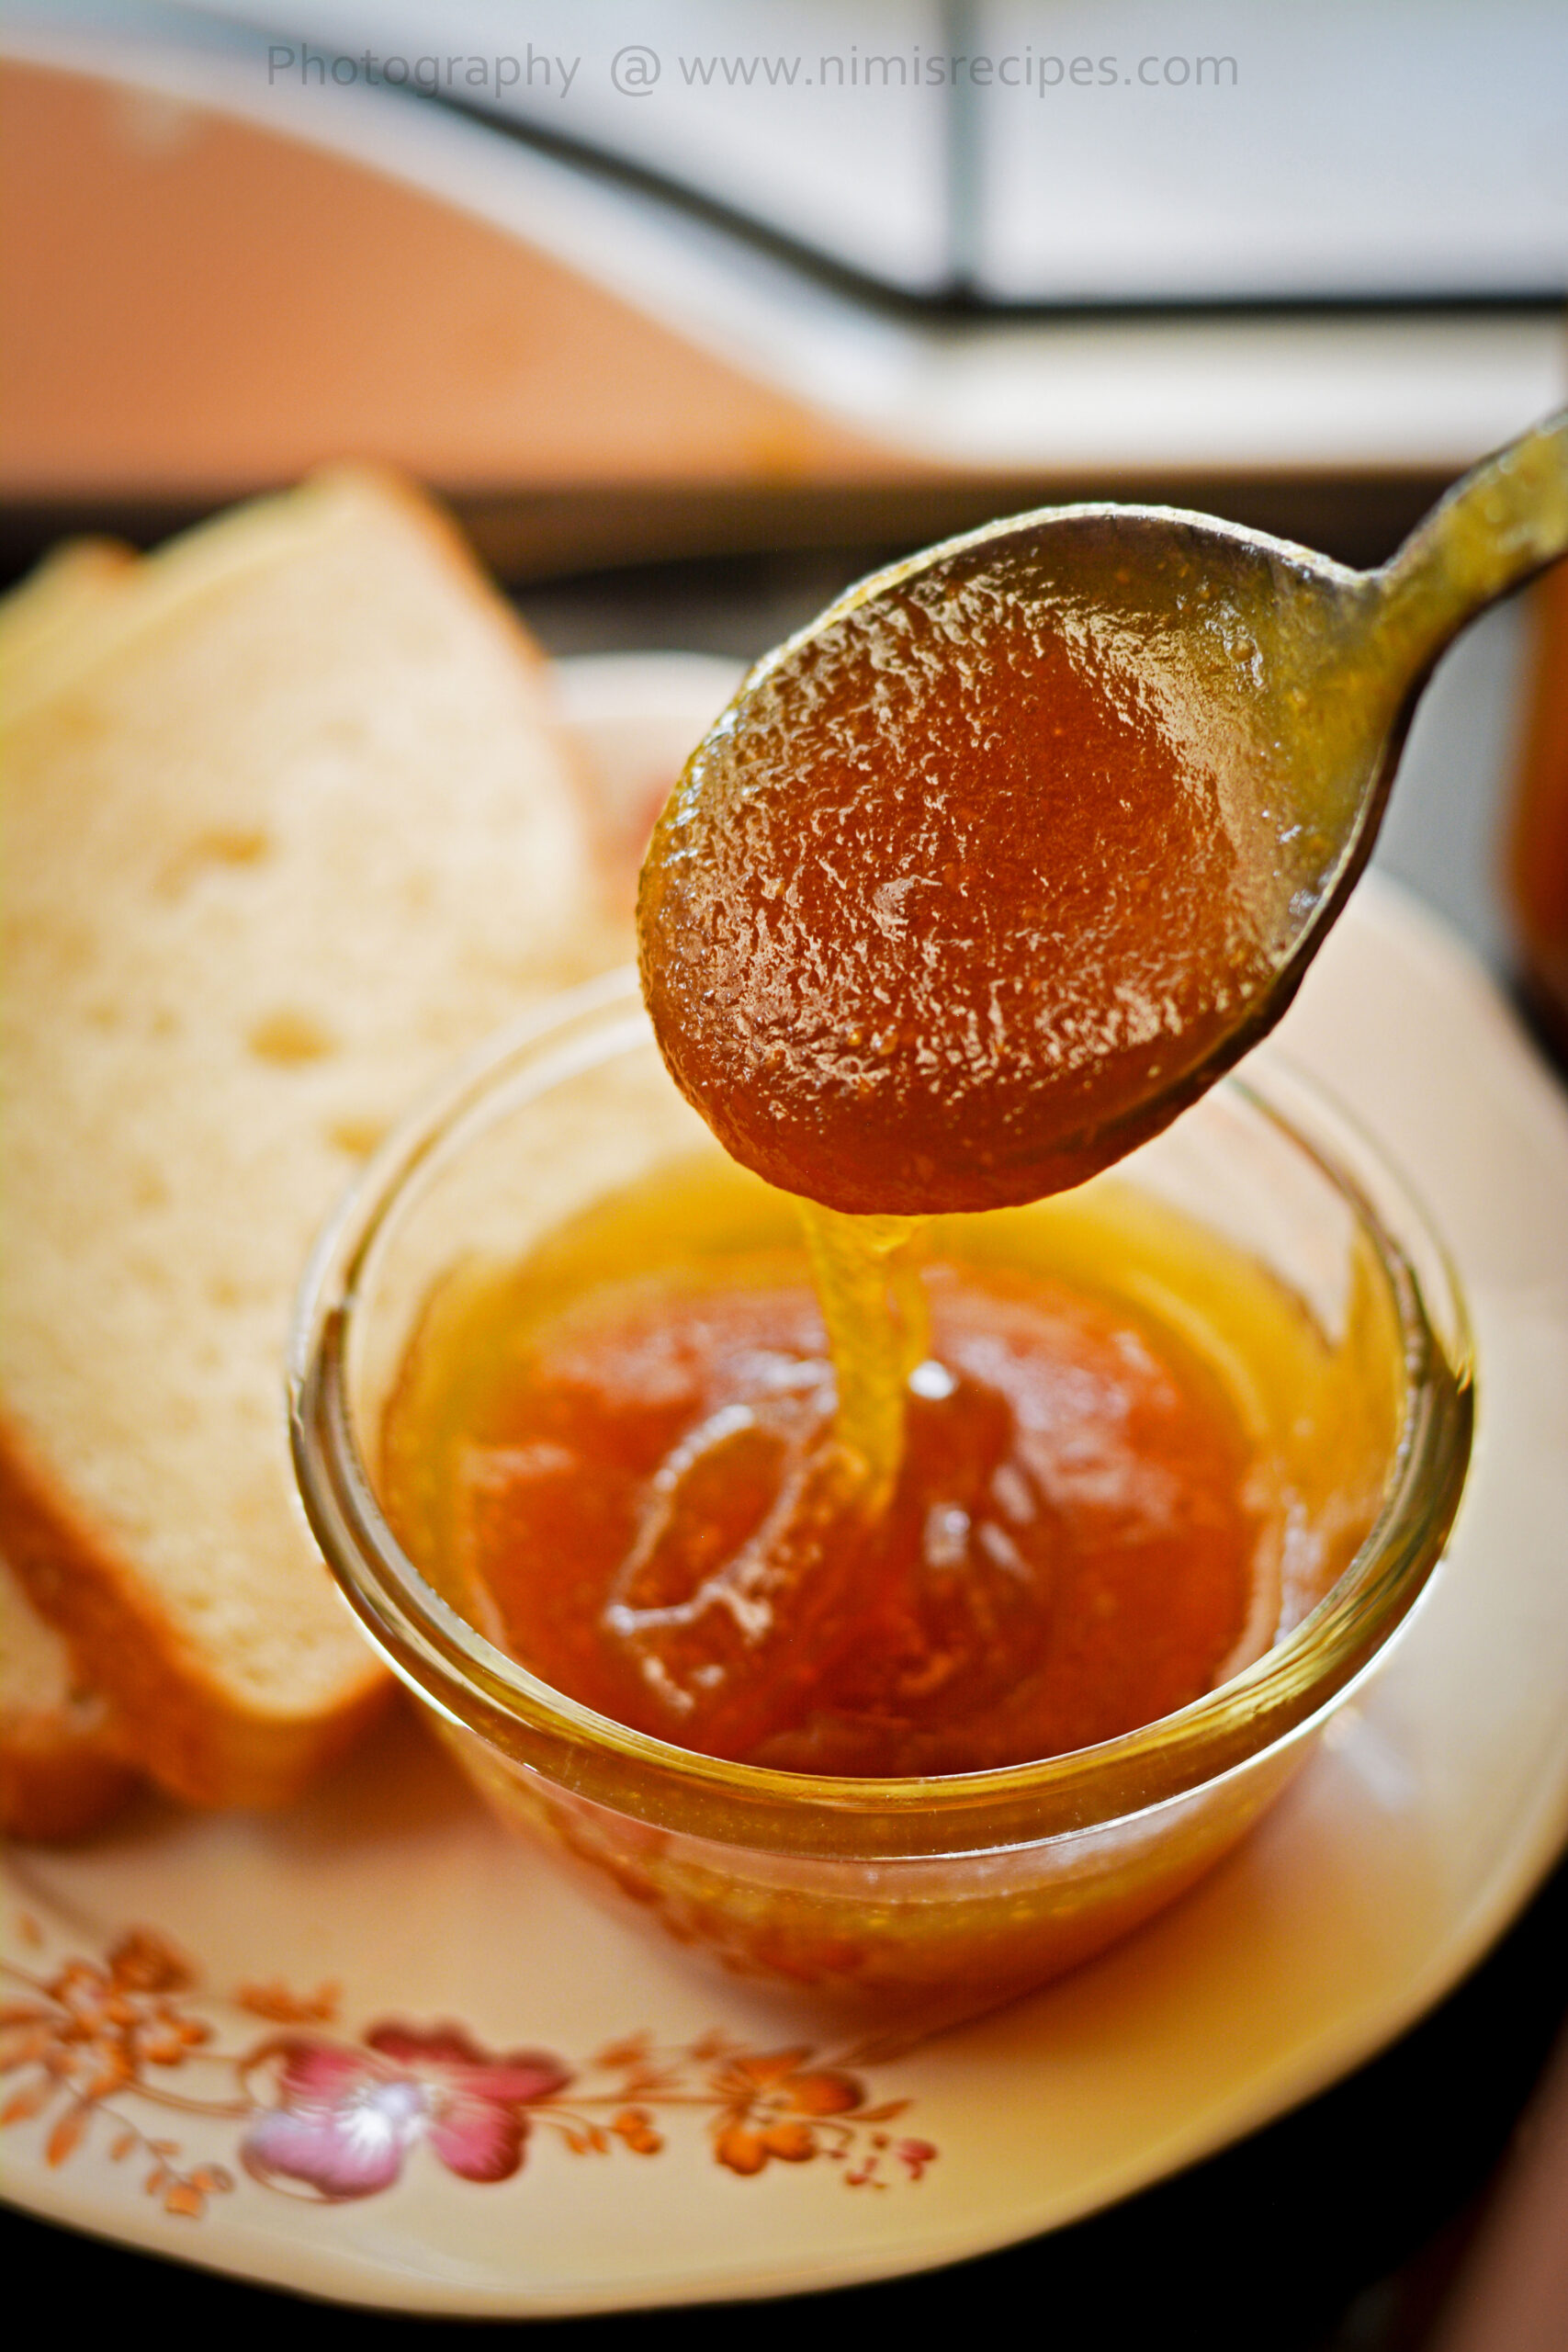
When you’re making jam with traditional amounts of sugar, you should aim to cook it to 220°F. Here is a tip to check if your jam is ready or not: At the beginning of cooking, put two or three small plates or bowls in the freezer. As you begin to approach the end of cooking, pull one out, and put a small dollop of jam into the middle of the dish. Put it back into the freezer for two or three minutes (take your jam off the heat during this time)
When the time is up, pull the dish out of the freezer and gently nudge the dollop of jam with the tip of your finger. If it has formed a skin on top that wrinkles a bit when pushed, it is done. If it is still quite liquid and your finger runs right through it, it’s not done yet.
Papaya and Pomegranate Jam
2 and 3/4 cup of Papaya puree
3/4 cup of pomegranate puree ( don’t strain out the seeds)
3 cups of sugar (you can reduce the sugar to 2 and 3/4 cups too )
2 tbsp of lemon juice
Heat a pan with papaya puree and the pomegranate puree stirring continuously. Mix in sugar and keep mixing it by stirring . Add in the lemon juice . Continue stirring until you gain the right consistency.
Here is a tip to check if your jam is ready or not. Before you start cooking, put two or three small plates or bowls in the freezer. As you begin to approach the end of cooking, pull one out, and put a small dollop of jam into the middle of the dish. Put it back into the freezer for two or three minutes (take your jam off the heat during this time)
When the time is up, pull the dish out of the freezer and gently nudge the dollop of jam with the tip of your finger. If a skin forms on top that wrinkles a bit when pushed, it is done. If it is still quite liquid and your finger runs right through it, it’s not done yet. You can also try tilting the plate to check if it’s too runny.
Once it slightly cools down bottle it and enjoy 🙂
Making jams at home is such a satisfying feeling and I get to use the ripe leftover fruit in the fridge. Jams are fairly easy to make at home and the best part is that they are preservative-free. Check out this quick Papaya and pomegranate jam. You can find the detailed recipe on the below link ..https://nimisrecipes.com/2020/08/jamming-up-papaya-and-pomegranate/
Posted by Nimi Sunilkumar on Sunday, August 16, 2020

A homemaker who fell head over heels in love with food -an award-winning cookbook author, food blogger, award-winning culinary demonstrator


